¶ Parts (Place Ears and Tails)
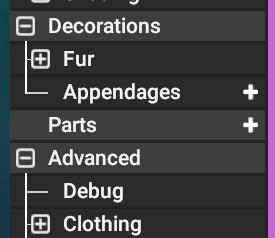
The parts Outliner sits empty with a + icon in it to the right.

Click the + icon and select Create Part.
Parts are essentially external models that you add to the character. It can be the ears, tails, horns, noses etc. You can also upload your own models and have them as parts. This includes items like jewellery, accessories of any kind. Whatever you do with parts, know that it is attached to your character in some way or another depending on where and how you place it on the character.
Parts are also self contained for the most-part. If expanded, they each have their own Coloration > and Decoration > as well as Parts > to place on top of this one.
- When you have created a new part, you can rename it on its properties at the bottom.
You can select which model that the part will be at the very top.
You can also Scale the model to its desired size.
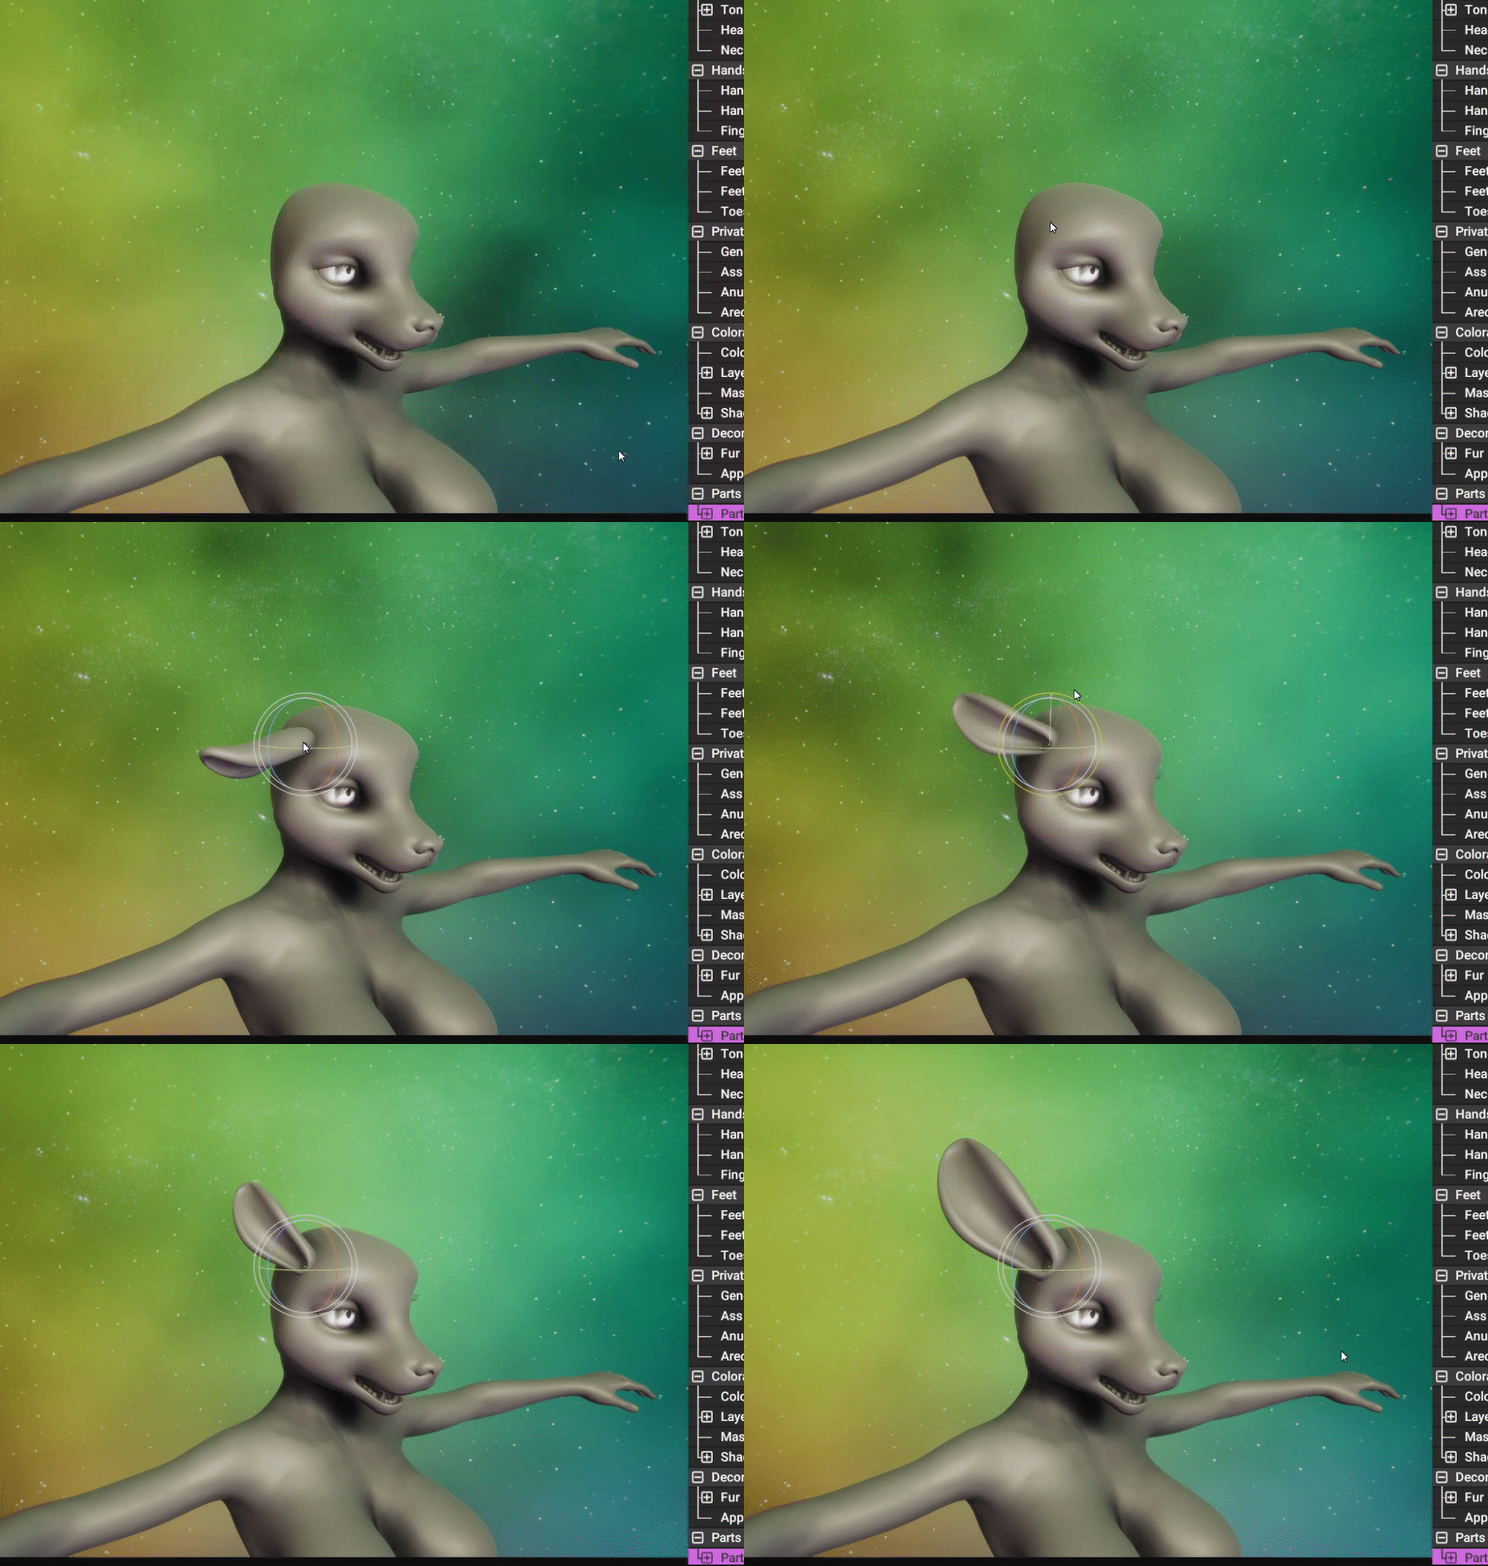
For now, select an Ear type. - To attach the part to the character, you must give it a surface.
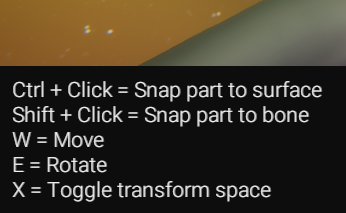
You can do so (While having the specific part selected in the Outliner) by holding Ctrl+Left Click on the desired location of the character.
It is important that you choose the general location as the coordinates of the part will align itself to that piece of the character model.

- When done, you can edit its position precisely using W (to move it) and E (to rotate it). And remember to Scale it!
- You can Mirror the Ear from one side to also be on the other. The parts properties above the Scaling has a checkmark for mirroring. This is how you can add and align something like ears perfectly.
Do not forget to look at the black context menu at the bottom left for available keyboard inputs.

¶ General Settings and Extra features
Parts have the following options in the properties tab:
- Model (Select a Model)
- Flip (Flip the part itself along the X axis) which is useful for asymmetric designs
- Texture Resolution (What resolution the model will display its textures at. Good for [Optimizing the Character])
- Enabled (Enable or disable the part without deleting it entirely)
- Location (Its cordinates and its method of attachment. Ctrl+Click attaches it to a surface, Shift+click attaches it to the bone)
- Mirror (Mirror the part across the other side in the X Axis)
- Part of Body (Assign this part to feature itself as being a part of the character. This is good for options in Interactions to disable a Hat or something else that is not a part of the body)
- Expose (Gives the user the ability to configure its positioning during Pose mode)
- Scale (Scales the part)
You can also Right Click the specific Part in the Outliner to reveal options such as Duplicate (Copy the part as it is), Convert to Partinstance, Duplicate to PartInstance.
Partinstances are a fast duplicate of the part selected that is un-editable, but takes less space and memory on the character.
Go look at [Optimizing the Character] for more information on that.
Next Page [Gender Selection & Settings]