¶ Making Models with Physics
Here is a step by step into making a physical object have bones in the most rudimentary simple way.
Tutorial uses Blender 3.6
¶ Having a model ready for armature
Firstly, you will need a model. It can be anything, you will eventually create bones for that static model.
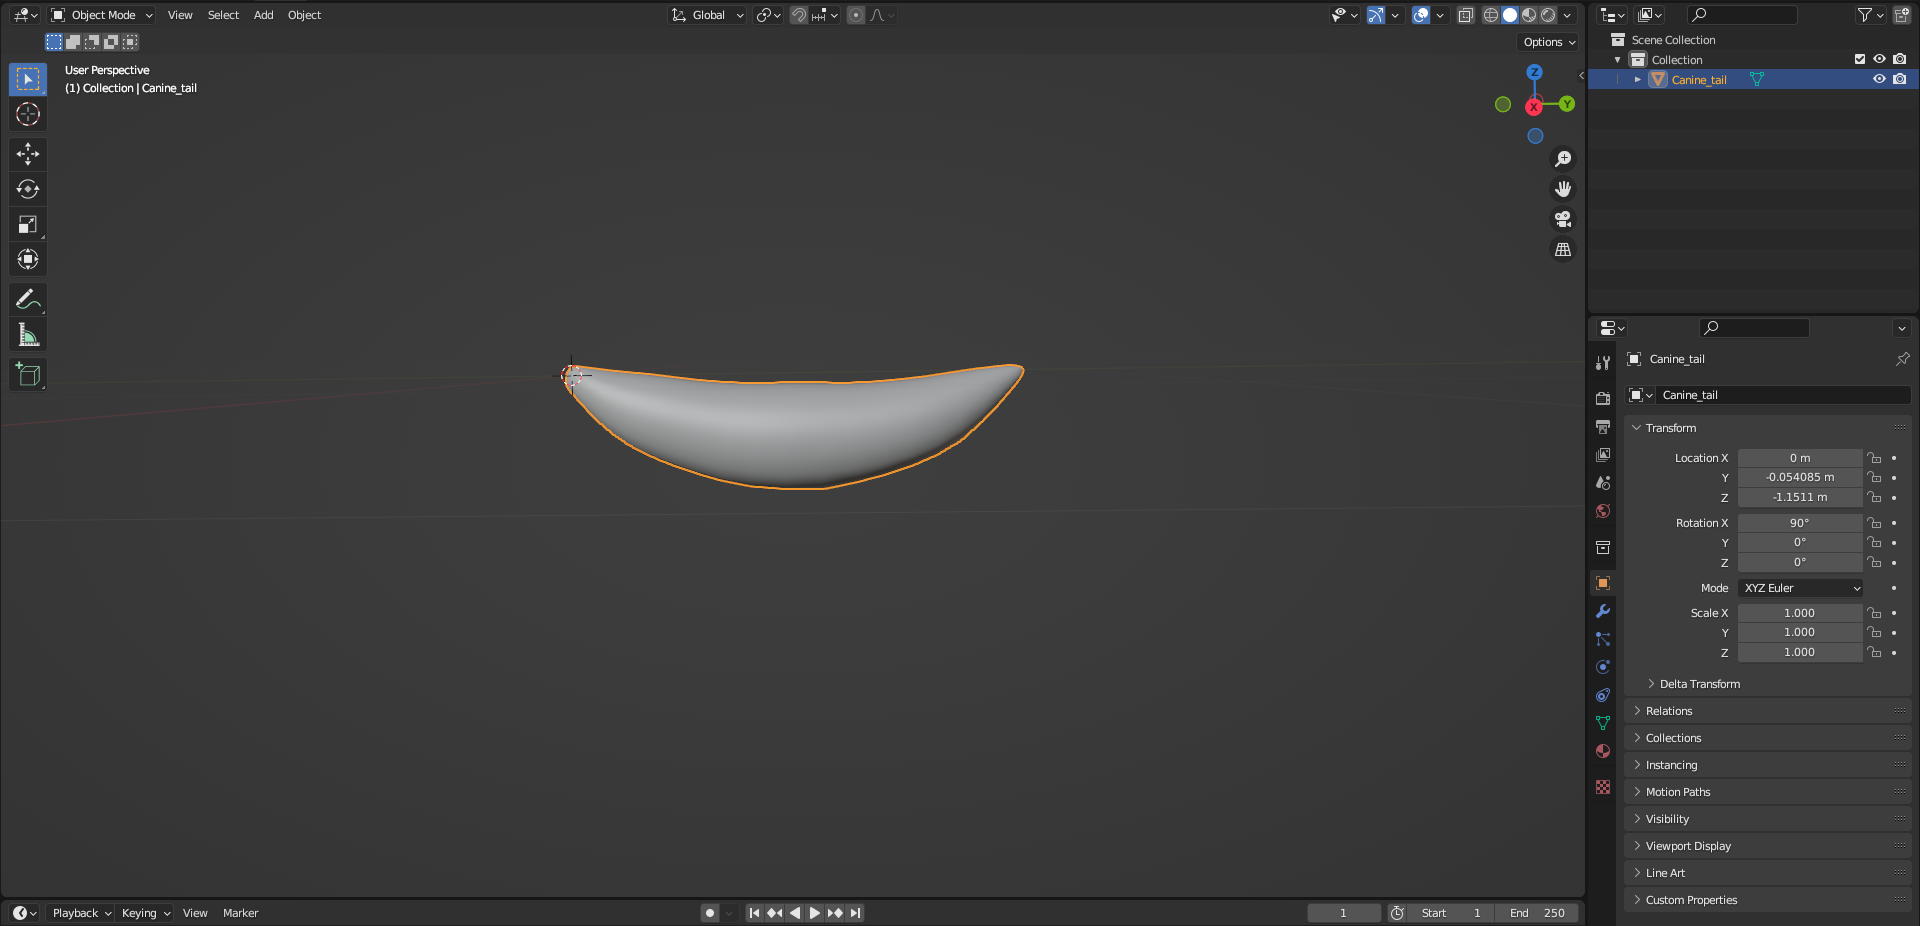
As an example, here is an extracted a .obj wolf tail.
¶ Step 1 (Making armature)
Create an armature
Shift+A > Armature
¶ Step 2 (Workflow Edits)
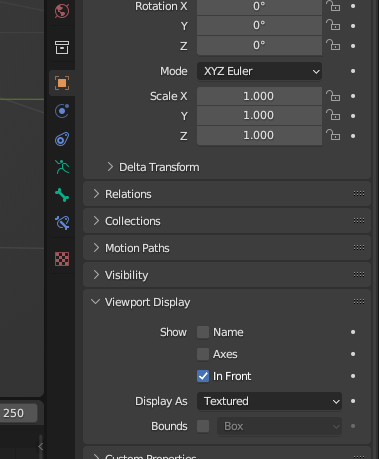
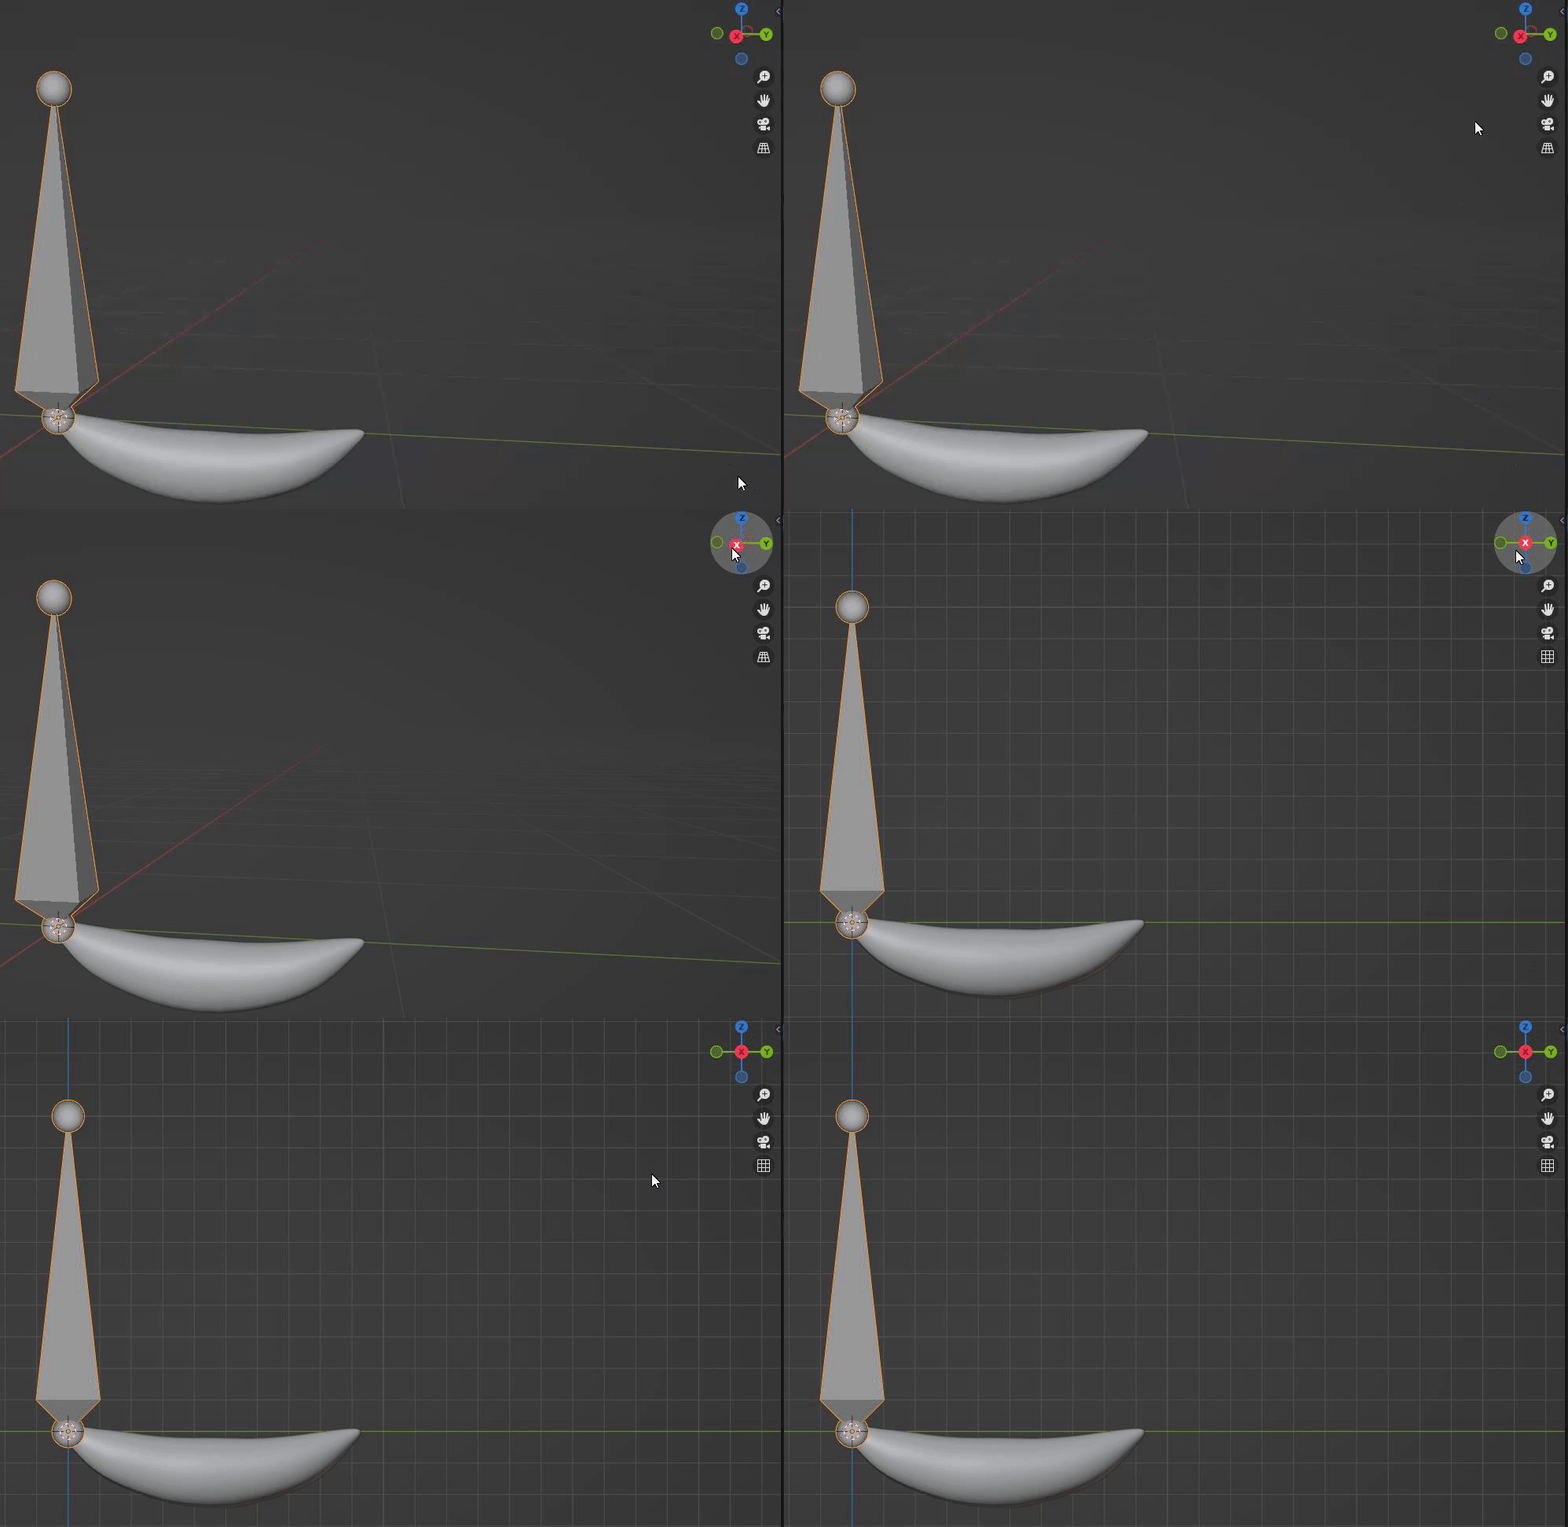
Click the armature and edit it to make it always be “In front” visually to make it easy to see and edit.
For the model, you can edit “Wireframe” view to get a better view of its vertices.
Click the model and then check the “Wireframe”.

¶ Step 3 (Perspective)
Use a flat perspective that best represents a flat image of your model and how you will navigate to create the chain of bones.
Sometimes, you will want to hop between different flat perspectives depending on the model.
¶ Step 4 (Move, extrude and make a chain of bones)
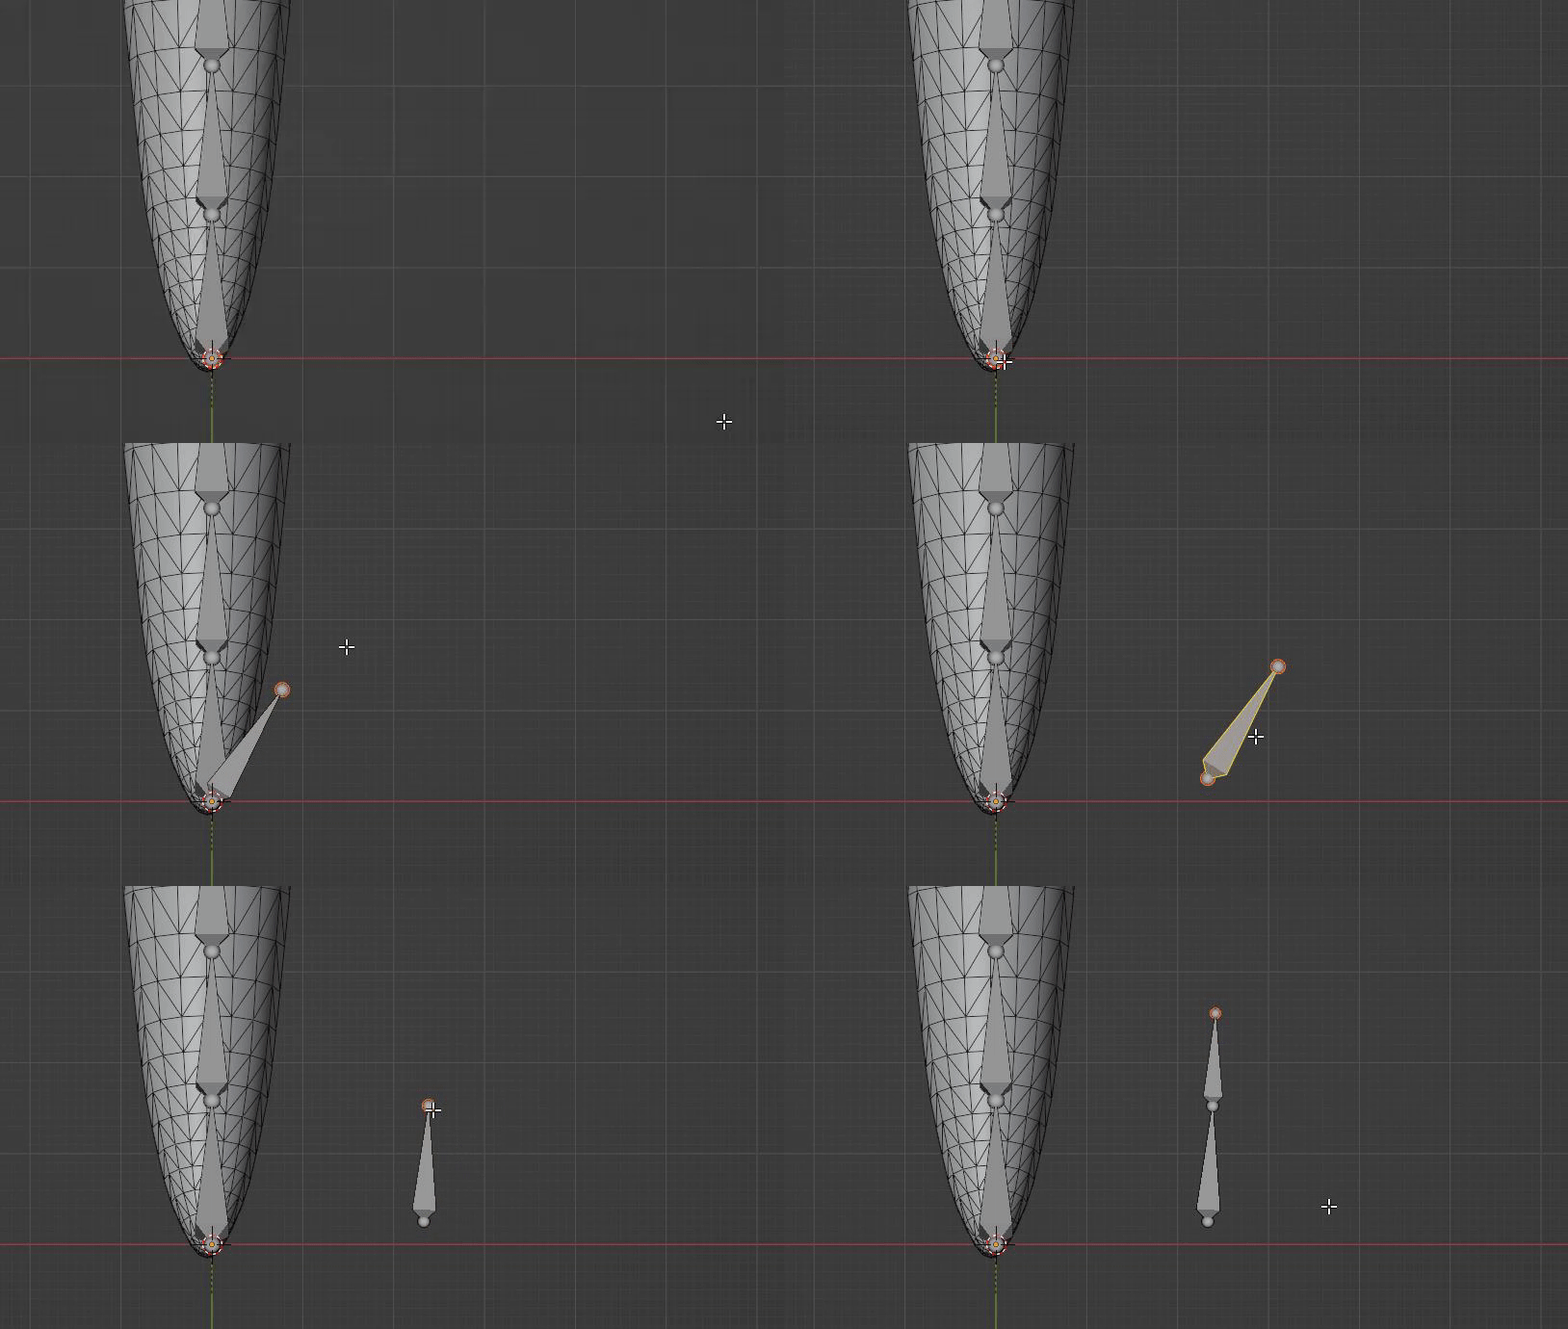
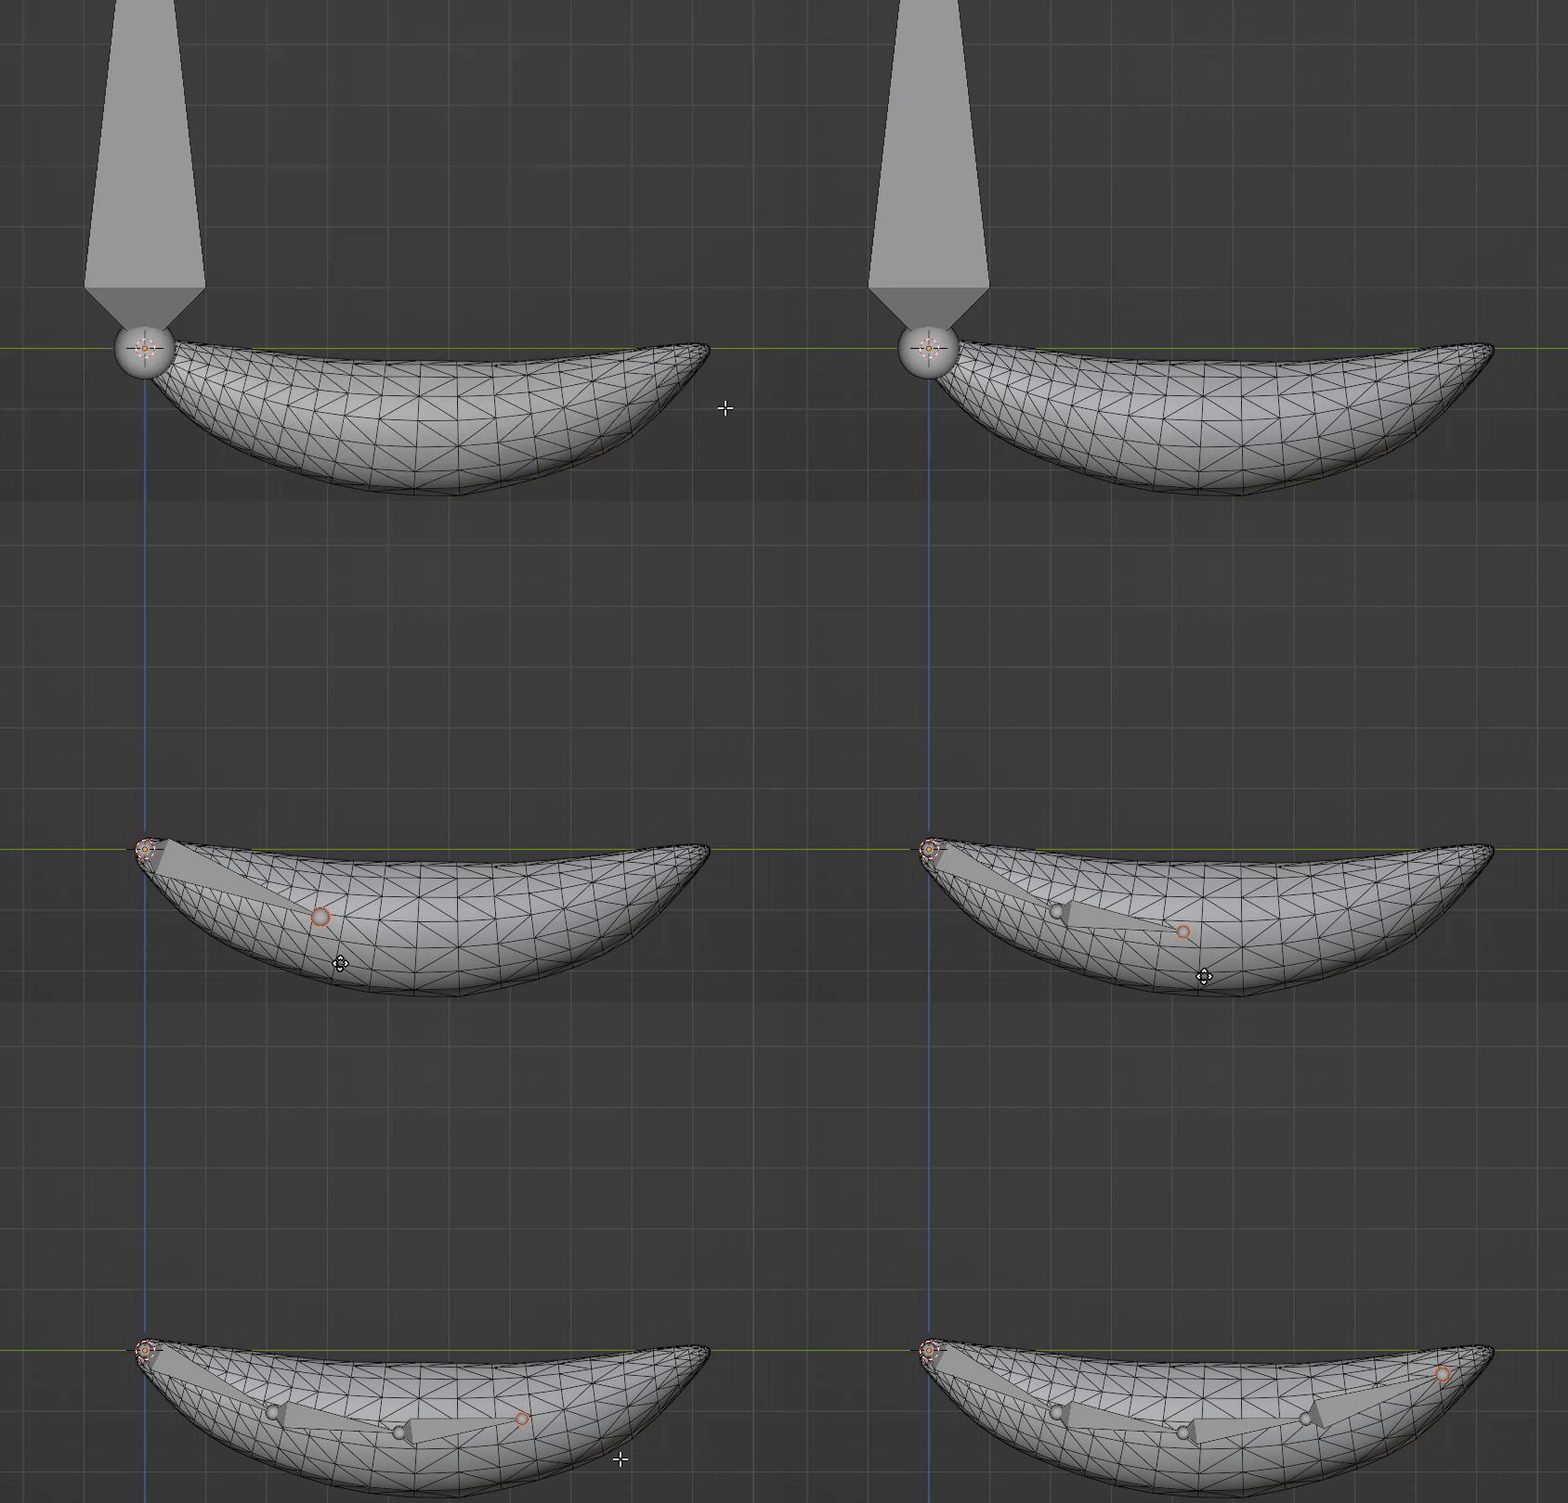
While in “Edit Mode”, you can select the various different parts of a bone/chain. Select the upper ball part of the newly create armature and move it in such a way that fits your model.
You extrude a new bone for the chain by pressing E while one end is selected, click to confirm the extrusion.
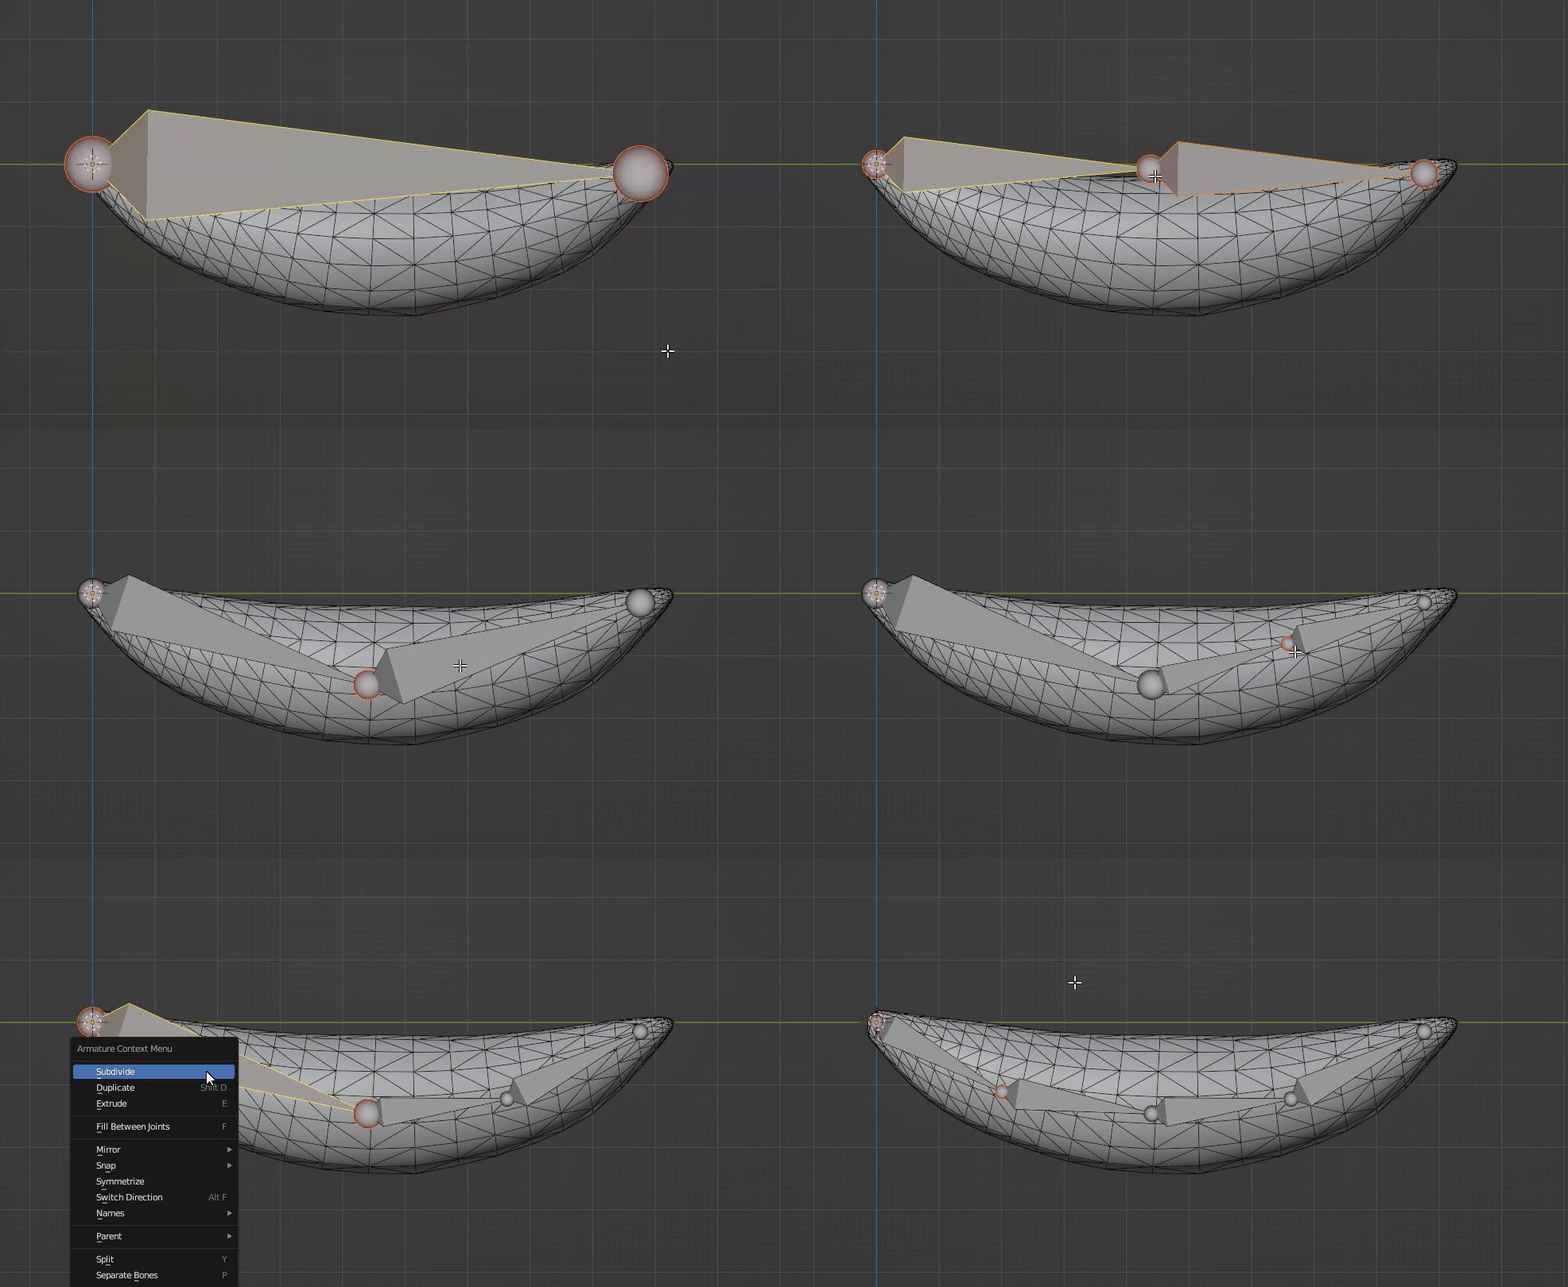
You can also Subdivide a bone into two bones which may be a smarter way of doing things.
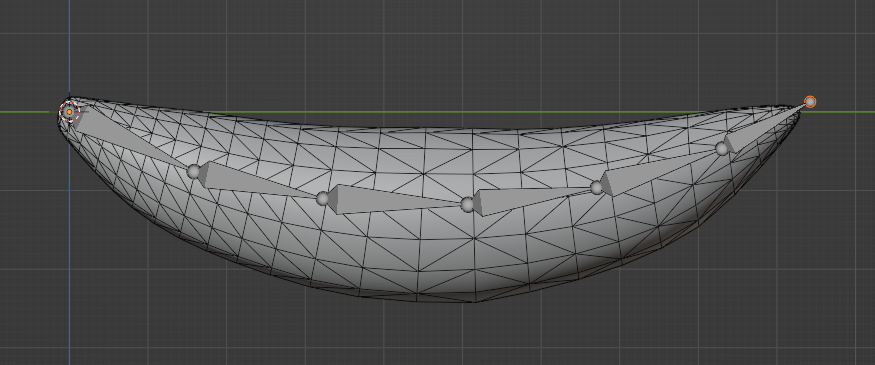
At the end of this step, you want a sufficient amount of bones to accompany your model, but not too much either.
¶ Step 5 (Combine Armature with Model)
Make sure the bones align deep in the model in a way that makes sense as the bones will now give weighted influence to the model.
To combine and make the armature a part of the model.
Firstly click the model.
Secondly shift+click the armature.
Now you can Ctrl+P and select “With Automatic weights”.
The order at which you click the model or armature is surprisingly important.
¶ Step 6 (Check armature weights)
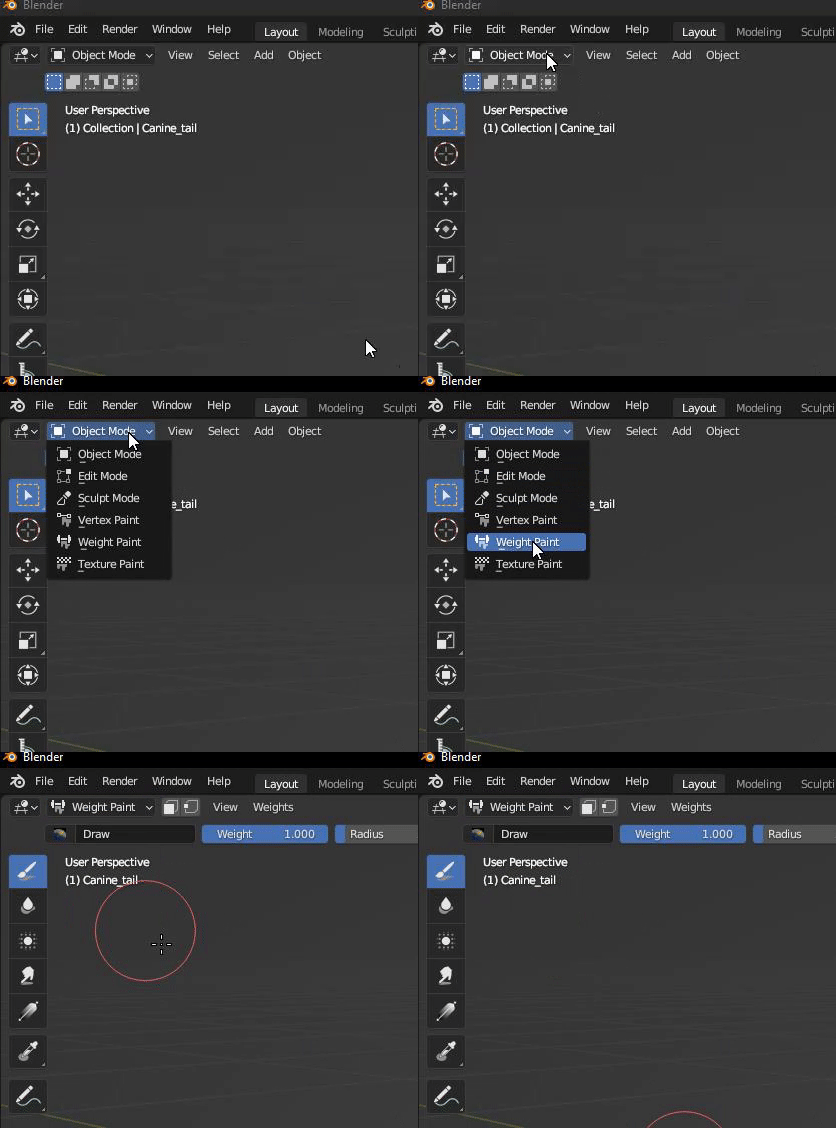
First select the Model and then switch to Weight Paint mode.
Select Data and there you will see each bone and their weight influence on the model.
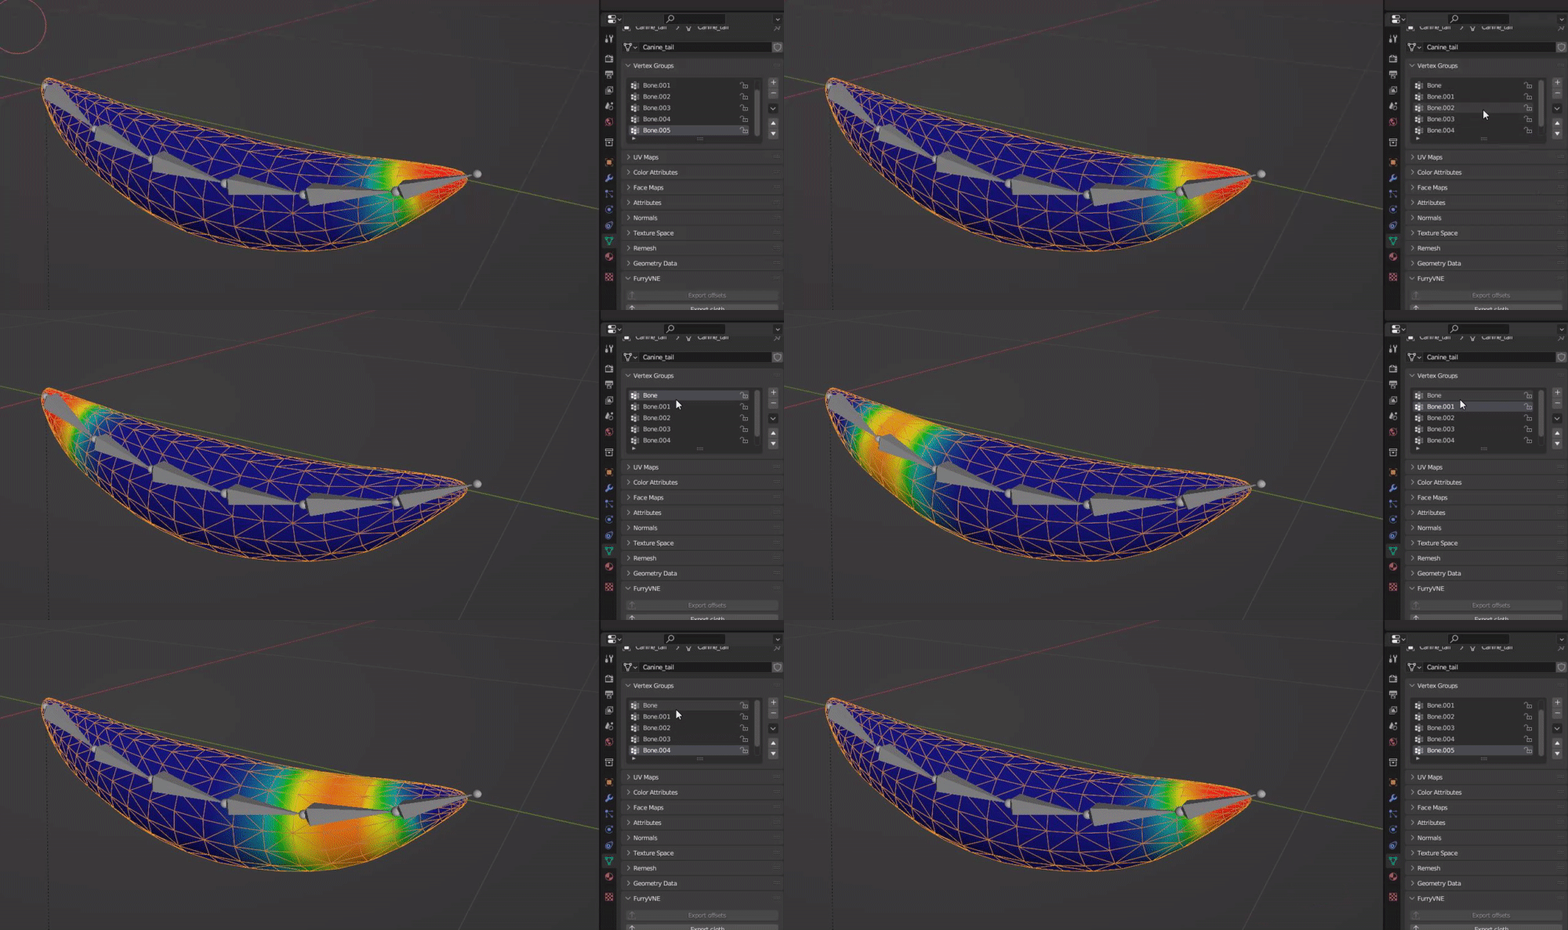
For each bone selected, you can paint more weight for it to influence if you need to.
¶ Step 7 (Saving, Importing to FVNE)
In Object mode.
Have the model and bones selected.
Then File > Export > glTF 2.0 (.glb/.gltf)
(As long as it is .glb of some kind)
In the new window…
Make sure the format is .glb
Expand “Include” and have “Selected Objects” checked.
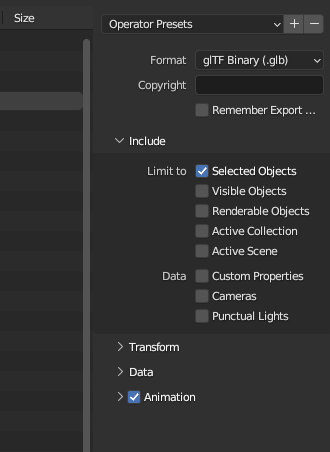
Now you can save your file with whatever name you wish.
Make sure you keep the Blender File in case you need to get back to this model.
¶ Step 8 (FVNE importing and editing)
Go to [Activating Physics to models] guide
¶ Step X (Common issues and Extra Chains)
Sometimes, your model may not import as expected. Therefor try…
Click the model, Ctrl+A, “All Transform”.
This may help with some issues with regards to a model not appearing as it should into FVNE.
To Create an extra Chain of bones for the same model simply extrude from the core of the first, and move it out.
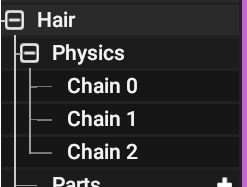
This effectively creates a New Chain and will appear as such in FVNE.
